Making Sourdough Bread
The following instructions are adapted from The Sourdough School (Vanessa Kimbell), and my friend Patrick Burns.
Overview
This method makes one decent sized loaf of sourdough from a mix of white and wholemeal flour, with no added yeast.
The method involves maintaining a sourdough starter, feeding the starter prior to baking (1 day), and then proceeding to make the dough and bake the bread (2 days). Usually I begin the feeding on Thursday afternoon/evening, start making the dough on Friday night, and bake the bread on Sunday morning. There is an alternative schedule you can also use (see Original Instructions from Patrick, below)
Schedule
Thursday afternoon/evening: Remove starter from fridge, and feed starter. Feed at (say) 9pm.
Friday morning: Feed starter again (at say 10am).
Friday evening: Start making levain, typically as late as possible (say 11pm).
Saturday morning: Make the dough, sit, knead the dough. Let rise.
Satruday evening: Final shaping of dough, leave to prove overnight (in bread basket)
Sunday morning: Preheat oven, score dough, bake bread.
Equipment
Sourdough starter in glass or plastic container
Spare container for measuring starter
Thermometer
Measuring scales (at least to 5g accuracy, preferably 1g)
Stirring spoon
Two large bowls
Tea towel to cover
Proofing basket (if possible)
Scissors or knife for scoring
Flat dough scraper (if possible)
Dutch oven (if possible)
Ingredients
Starter
Strong white flour
Strong wholemeal flour
Rye flour (good for feeding sourdough, but not essential)
Rice flour
Polenta or semolina
Salt
Maintaining a Starter
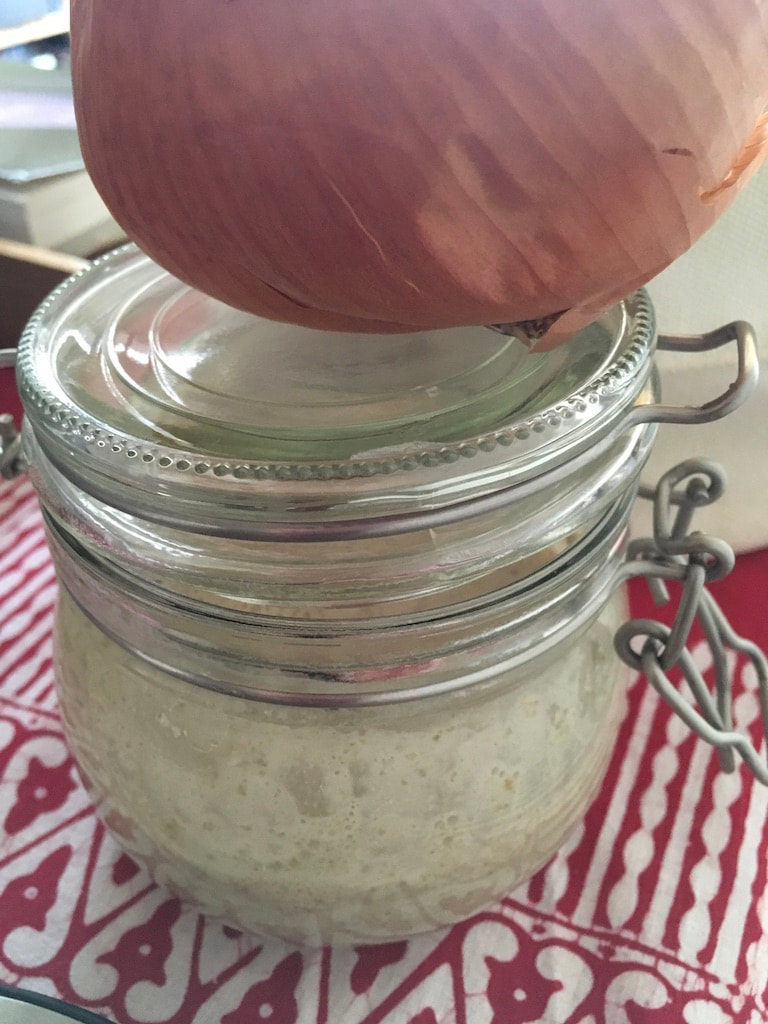
The starter is a collection of living organisms, and needs to be fed at least once a week. The starter is generally kept in the fridge, unless you're about to feed it, or are about to make the levain wtih it. You can store the starter in a glass or plastic container- just make sure the starter has room to expand to 2 or 3 times its sized. A lose-fitting lid is ideal.
If you're not going to use the starter for a while, or will be away, the starter can be safely frozen. Just stick it in the freezer. To use, defrost the jar gently at room temperature, without using a microsave, warm water, or anything like that. To feed the starter, remove it from the fridge and allow to come to room temperature (a few hours). Decanting the starter into another jar can help speed this up. Give the starter a stir. Measure out 50g of the starter into a fresh jar. Add 50 of flour (I use 25g white and 25g rye, which I've found works well). Add 80g of water at around 28 degrees C. (somewhere 25 - 30 degrees C is fine). Give it a good mix. Loosely cover with a lid, leaving room for air to get in. Let stand for 8-12 hours or so at room temperature or slightly warmer. (22 degrees is nice, 18-24 degrees is fine.) In this time the starter should expand, puff up and get really bubbly. It should increase in volume significantly. Ideally you would feed again or bake with the starter once its reached maximum volume. In practice, it's usually more practical to plan to let the starter sit 12 hours before moving on to the next step. The next step might be either feeding the starter again, or moving on to make the levain. |
|
|
The remaining starter that is not used at each feeding can either be discarded or used for other purposes. I usually keep some backup starter in the fridge in case anything goes wrong.
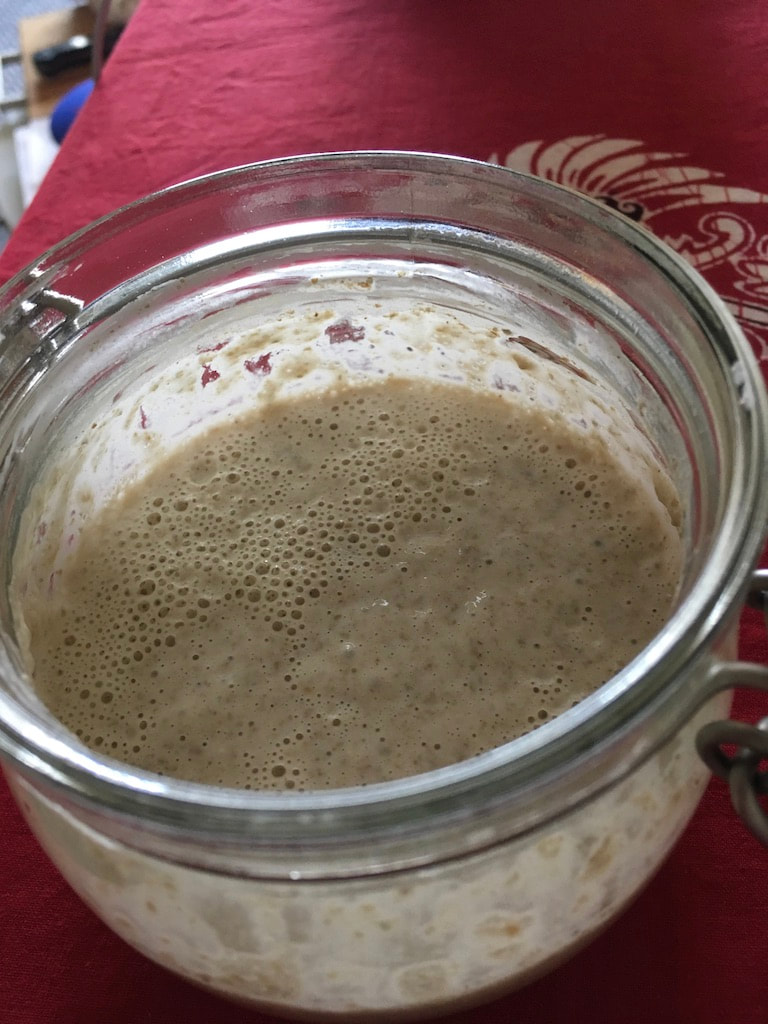
Note that it's essential to measure out the starter, rather than just add flour and water. If you don't reduce the amount of starter each time, the yeast won't have enough food. If you've left the starter for a while (or frozen) it might need up to a week of twice daily feeding to get it sufficiently active again. Picture on right: The starter should look nice and bubbly after its been fed. If it doesn't, make sure the room is warm enough, and try feeding again.
|
|
Making the Levain
|
Begin late at night (usually 11pm for me). Take 50g of starter, and add it to a medium sized bowl. Add 200g white flour, and 25g of wholemeal flour. (It's important the flour for this part is mostly white.) Then add 190g of water at 26 degrees. It's important the water is not too hot or cold. Mix this all together. Leave covered wtih a tea towl to rise for at least 7 hours, and up to 9 hours. Some place around is 23 degrees is great- I just put it on the kitchen bench which is warm enough at mine. When you return to it, the levain should have risen. You should be able to see the gluten bonds forming when you start working with the levain.
Picture on right: Once you start using the levain, you can see all the cool stretchy gluten bonds that have formed. |
|
Making the Dough
|
Next morning, once the levain has risen, you need to make the dough. For me this is usually 8am.
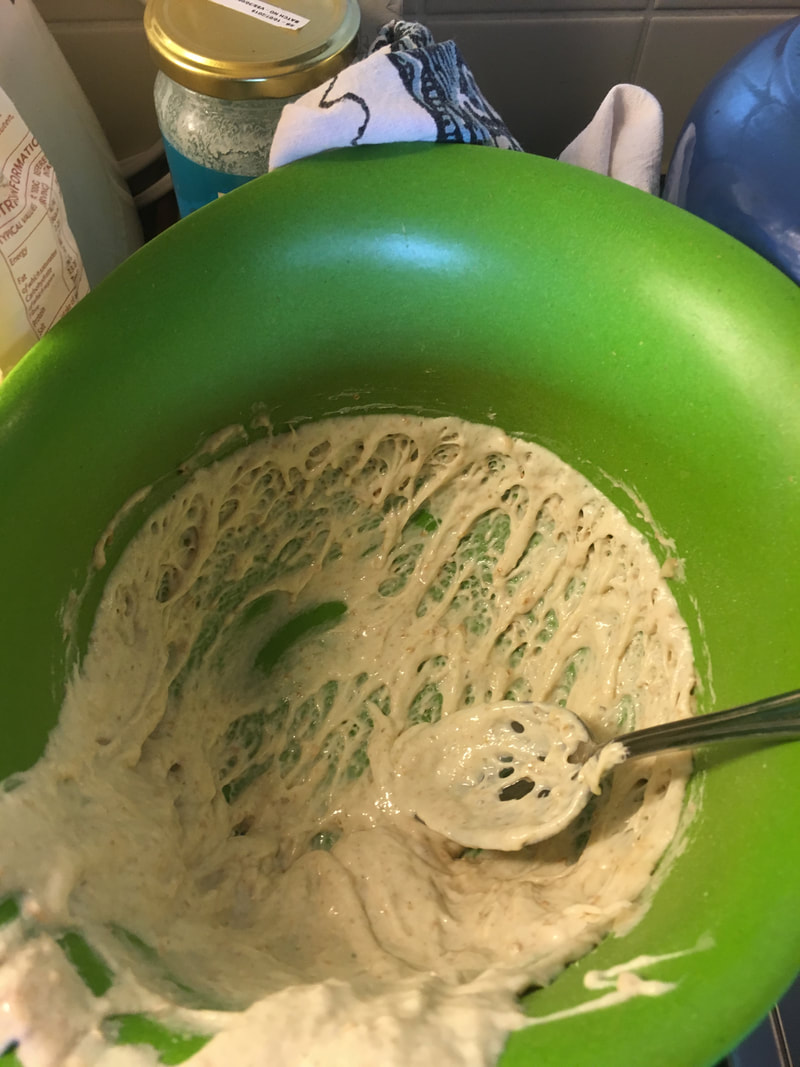
Warm a large bowl using hot water (ceramic is best). Measure out 300g of the levain into the bowl. Add 280g of water at 33 degrees. Use a whisk to mix the levain and water together and break up any chunks- you want a mixture that is pretty smooth at this point. Then add 345g white flour and 115g wholemeal flour. (This makes 1/4 wholemeal, you can start playing with this ration later, and go for up to 1/2 wholemeal 1/2 white- but this is tricky, so just start with 1/4 wholemeal to begin with.) Mix this all together with a wooden spoon. It should be pretty stiff at this point- that's fine, but make sure it's well-mixed. Cover with a warm dampt tea-towel and leave to sit for 30 minutes. If you can, leave it in a warm place. After 30 minutes, sprinkle 10g of salt over the mixture. Dipping your hands in water, mix this salt in using the pinch technique: https://www.youtube.com/watch?v=u_MvMz3XbAc You want the salt to be well-mixed into the dough by the end. Keep dipping your hands in water to prevent their sticking to the dough. Having some extra water floating around the dough also helps the salt to mix in. (Some recipes add less water earlier, and add in some water here to help wtih the mixing. Exactly how much water you need will also vary batch by batch- you're meant to get a feel for it.) Once the salt is mixed in, the dough needs to be kneaded. This doesn't look like 'normal' kneading. Instead you do something much gentler. This is the stretch and fold technique. You take one side of the dough, stretch it up, and fold it over. Kind of like this: https://www.youtube.com/watch?v=XuKFFRv5YHo (I don't use a dough scraper here though, just my hands). You then give the bowl a quarter turn, and repeat. You do this up to 10 times on a 'turn'. The aim is to stretch the gluten bonds (rather than break them). So once the dough starts resisting and you really can't stretch very much, you stop. You then let the dough sit for 10-25 minutes or so (this is rough), and return to do the stretching and folding again. Repeat this strethcing and folding process more, so that you've done 4 sets of stretching and folding (with 4-10 folds in each set). The resting time helps the gluten bonds relaxed. By the final set (first stretch) the dough should be really smooth and stretchy. Instructions vary here a lot- you can explore other techniques, or leave out the rests in between- though I find them useful. Once you've done all this strethcing and folding, cover the dough in bowl wtih a tea towel, and leave to sit at room temperature for 12 hours. (I would usually leave it around 10am and return to it around 10pm.) |
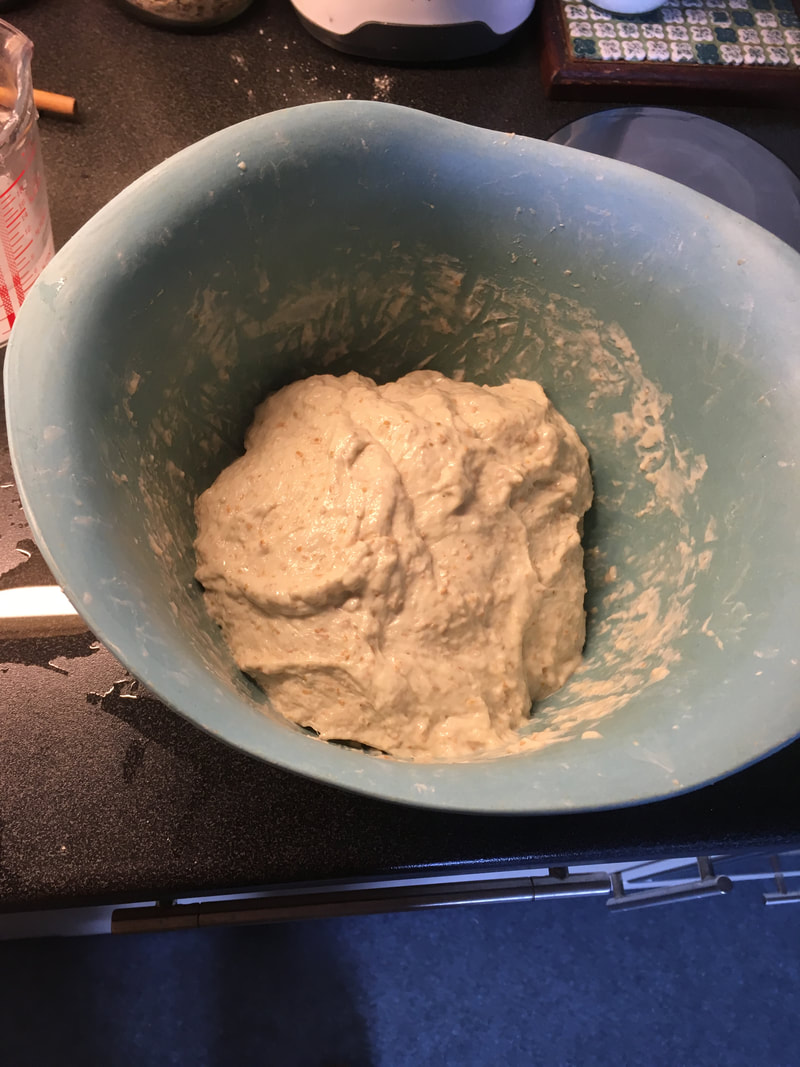
Picture above: How the dough looks for me after the stretching and folding.
Bonus:
You can use the leftover levain to fry up little pancake/pikelet things! A nice breakfast treat while you're making the dough.

|
Final Shaping of the dough and proofing
After 12 hours, the dough should have risen a lot. If it hasn't, there may be a problem with the starter.
Prepare the proofing basket by sprinkling very well wtih a half half combination of white flour and rice flour. (The combo is best, but you might try to get by with just white flour.) This is to stop the dough sticking to the basket.
Shaping is the hard bit, and people use a lot of different techniques. I've found a metal dough scraper really useful. You might google some youtube videos to see there different methods. The closest to the one I use is this: https://www.youtube.com/watch?v=vEG1BjWroT0www.youtube.com/watch?v=vEG1BjWroT0
Essentially you want to sprinkle some flour over the work surface and the dough, then tip the dough onto the work surface. You then want to shape the dough in such a way that it has a smooth top, and has some 'structure' to its middle. This is usually achieved by some combination of folding the dough, and then scraping the dough along the bench to give it a smooth top and hide the folds underneath. But this is really hard to describe. If it doesn't work, you can still make your bread- it just won't have the same rounded shape by the end. A proofing basket also helps the dough keep its shape.
Once the dough is shaped, carefully lower it into the proofing bakset. Most instructions say you put the smooth top face down into th basket- this will be the top when you bake the bread. (But there are others that do it the other way.)
Leave the dough in the basket to prove overnight in the fridge. It doesn't usually need to be covered, but you might if it gets dry. The bread can prove for 12-24 hours.
Baking the Bread
Start the next morning by heading the oven to its maximum temperature (say 250 degrees), with the dutch oven inside, lid on. Heat for 1 hour.
Take the dutch oven out, and reduce the oven temperature to 240 degrees. Sprinkle semolina, polenta (or use some other non-sticking method) into the base of the dutch oven. Tip the dough carefully into the dutch oven. Score the top of the dough, if possible, using scissors or a sharp knife. Place the lid on, and bake in oven around 30 minutes with the lid on. Then take the lid off, turn the heat down to 230 degrees, and bake for a further 25-30 minutes (or until it's sufficiently browned for your taste). You can play around with these amounts of time somewhat. Some bake for only 45-50 minutes total.
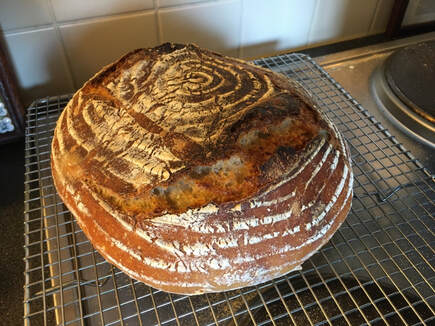
The bread should look great! Take it out carefully, and leave to cool on a rack before cutting into.
(I've always had trouble wtih the scoring. Some people put the dough in seam side up, and don't bother scoring. Other people put the dough in seam side down and do the scoring. You might experiment.)
Take the dutch oven out, and reduce the oven temperature to 240 degrees. Sprinkle semolina, polenta (or use some other non-sticking method) into the base of the dutch oven. Tip the dough carefully into the dutch oven. Score the top of the dough, if possible, using scissors or a sharp knife. Place the lid on, and bake in oven around 30 minutes with the lid on. Then take the lid off, turn the heat down to 230 degrees, and bake for a further 25-30 minutes (or until it's sufficiently browned for your taste). You can play around with these amounts of time somewhat. Some bake for only 45-50 minutes total.
The bread should look great! Take it out carefully, and leave to cool on a rack before cutting into.
(I've always had trouble wtih the scoring. Some people put the dough in seam side up, and don't bother scoring. Other people put the dough in seam side down and do the scoring. You might experiment.)
Original Instructions from Patrick
I got the original recipe from a book by Ken Forkish
http://kensartisan.com/flour-water-salt-yeast
Evening (or previous day morning)
Mix in 200 white/50 whole/ 200g water feed to 50g levain, leave for 8h
Morning early (or previous day evening)
for the dough 345g strong white flour plus 115 wholewheat
280g warm water
300g sourdough starter
Mix lightly and leave for 30 mins
Then add 10g salt - mix fully using the pincer technique https://www.youtube.com/watch?v=u_MvMz3XbAc
Then fold-tuck-roll 3 times, with 10 between each roll. (Pull to resistance and fold back in).
All day (or overnight)
12h proof covered with teatowel
Turn, gather up and turn over, then pull along worktop. Then 4h second proof in basket covered with teatowel, or overnight in fridge
45-50 min bake at 250 in dutch oven